
之前想用深度相机来做视觉里程计给无人机用还是太异想天开,最终还是买激光雷达上强度来了。总之就是MID-360S收集数据,Fast-LIO2负责状态估计,RTAB-Map负责建图、记录,Jetson提供算力。
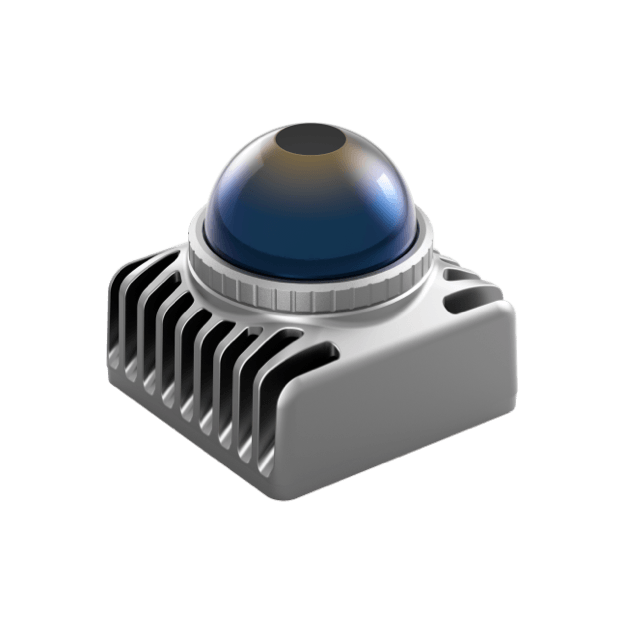
- 配置:自组无人机(650轴距机架、Pixhawk 6c mini(PX4 1.16.0)、)、Livox MID-360S激光雷达、Jetson Orin NX Super 16G(JetPack 6 / Ubuntu 22.04 LST、ROS2 Humble)。
MID-360S的ROS2部署
买的MID-360,发货过来发现后面多了个“S”,原来是推出的新版,好像是性能一样但是更便宜而已(即被卖家坑了说是)。不先连笔记本测试了,直接上jetson配置,雷达通电、连接上jetson的网口后,查询以太网信息:
nmcli device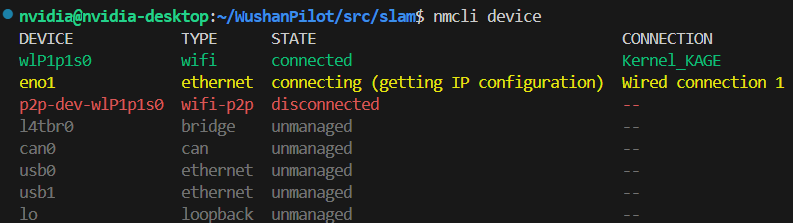
把Jetson的网口设置到192.168.1.x网段,我用的50:
sudo nmcli connection modify "Wired connection 1" ipv4.addresses 192.168.1.50/24
sudo nmcli connection modify "Wired connection 1" ipv4.method manual
sudo nmcli connection up "Wired connection 1"

sudo ufw disable  # 关闭防火墙,避免连接出问题
尝试ping激光雷达,其地址为192.168.1.1xx,最后两位由MID-360S上一个二维码标签底部的SN码决定,如我SN码最后两位是01,那么我的地址就是192.168.1.101:
ping 192.168.1.101有反应就说明初步连上了。然后安装Livox-SDK2(已支持mid-360s):
cd ~
git clone https://github.com/Livox-SDK/Livox-SDK2.git
cd ./Livox-SDK2/
mkdir build
cd build
cmake .. && make -j
sudo make install
接下来克隆livox_ros_driver2功能包,允许我们通过ros2获取到mid-360s的lidar点云话题和imu惯性话题:
cd ~/your_work_sapce/src
git clone https://github.com/Livox-SDK/livox_ros_driver2.git
在编译之前,注意两个地方,一个是配置文件:
cd livox_ros_driver2
cd config
nano MID360s_config.json
# 给host_ip和lidar的ip处填入前面讲的地址,如我的就分别填192.168.1.50和192.168.1.101
另一个是launch_ROS2文件夹中,msg_MID360s_launch.py和rviz_MID360s_launch.py里的xfer_format变量,0代表输出标准的ros2点云格式,1输出的是它自定义的一种复合格式,msg版默认的是1,rviz的是0,由于我并没有即时可视化的需求,肯定是用msg版,而刚好fast_lio2要求输入的也是1这种点云格式,所以不需要改。参考仓库原文(luanch文件名是以前老的):
For livox serials, FAST-LIO only support the data collected by the
livox_lidar_msg.launchsince only itslivox_ros_driver2/CustomMsgdata structure produces the timestamp of each LiDAR point which is very important for the motion undistortion.livox_lidar.launchcan not produce it right now.
由于我把livox_ros_driver2跟其他所有功能包都部署在了一个工作空间下,但它又需要用自带的特定脚本来编译,会导致把现有全部包的编译一遍,所以改了下编译脚本的内容,让只编译这个包:
cd ..
nano build.sh

# 往下翻到colcon build那一行,加个--packages-up-to参数:
colcon build --packages-up-to livox_ros_driver2 --cmake-args -DROS_EDITION=${VERSION_ROS2} -DDISTRO_ROS=${ROS_DISTRO}
# 保存退出
# 当然实际上也可以自己填参数然后拿指令到外面去编译

./build.sh humble  # 编译
之后可以ros2 launch livox_ros_driver2 msg_MID360s_launch.py启动功能包,然后自行echo、hz等检查新话题是否能够正常接收。
Fast-LIO-ROS2克隆与部署
github上官方仓库是hku-mars/FAST_LIO,为了适配humble,要选择ROS2分支,此时底下的教程会指引我们克隆Ericsii/FAST_LIO_ROS2这个仓库。
而这个仓库的的克隆就有点头疼了,由于网络问题我本来一直没有clone成功,找镜像站也没成功。最后发现gitee上有同步仓库,然而由于还有个子模块指向了github中的ikd-Tree仓库,还是会中途失败断开,好在它同样也有个同步仓库,因此最后自己在gitee上给fast-lio2创建了一个分支,并将.gitmodules里的地址也改成gitee仓库,终于才成功:
cd ~/your_workspace/src
git clone https://gitee.com/qin-kaitong/FAST_LIO_ROS2.git --recursive
cd ..
rosdep install --from-paths src --ignore-src -y
colcon build --symlink-install --packages-select fast_lio  # 还是只编译了这个包,而且是的这个包名不是FAST_LIO_ROS2而是fast_lio
. ./install/setup.bash # use setup.zsh if use zsh
顺便编译这个包不能用–packages-up-to,因为它依赖livox_ros_driver2,会顺便编译这个然后因为没带参数而崩溃掉。
SLAM启动
在自己别的功能包(如我的slam功能包)的launch文件夹中创建启动文件,记得要先改setup.py。最后的SLAM代码如下,FAST-LIO2会订阅mid-360s发布的lidar和惯性imu数据,生成状态估计,并发布camera_init(相当于odom)、body(雷达自己的坐标系)、里程计话题/Odometry和去畸变对齐后的点云话题/cloud_registered,再给RTAB-Map用来建图。由于是装在无人机上,之后还要给飞控提供定位,还发布了base_link作为body的子坐标系。
import os
from launch import LaunchDescription
from launch.actions import IncludeLaunchDescription, DeclareLaunchArgument
from launch.launch_description_sources import
from launch.substitutions import LaunchConfiguration
from ament_index_python.packages import get_package_share_directory
from launch_ros.actions import Node

def generate_launch_description():
    # 获取各个功能包的 launch 目录
    livox_ros2_dir = get_package_share_directory('livox_ros_driver2')
    fast_lio_dir = get_package_share_directory('fast_lio')
    rtabmap_launch_dir = get_package_share_directory('rtabmap_launch')

    # 1. 定义静态 TF 发布器,连接 base_link 和 body
    static_tf_publisher = Node(
        package='tf2_ros',
        executable='static_transform_publisher',
        name='base_link_to_livox_laser',
        arguments=[
            '0.0', '0.0', '-0.1',      # X, Y, Z轴的平移绝对距离(单位:米)
            '0.0', '0.0', '0.0',      # Roll, Pitch, Yaw 旋转弧度(或者是角度,取决于Humble的具体小版本,推荐下面用参数形式更稳妥)
            'body',              # 父坐标系名称
            'base_link'             # 子坐标系名称
        ]
    )

    # 2. 启动 Livox Mid-360 驱动 (请确保你使用的是输出 msg 格式的 launch 文件,以配合 fast-lio)
    livox_driver_launch = IncludeLaunchDescription(
        PythonLaunchDescriptionSource(
            os.path.join(livox_ros2_dir, 'launch_ROS2', 'msg_MID360s_launch.py')
            # 注意检查路径和文件名是否与你的配置一致
        )
    )

    # 3. 启动 FAST-LIO2
    fast_lio_config_path = os.path.join(fast_lio_dir, 'config', 'mid360.yaml')
    fast_lio_launch = IncludeLaunchDescription(
        PythonLaunchDescriptionSource(
            os.path.join(fast_lio_dir, 'launch', 'mapping.launch.py')
        ),
        launch_arguments={
            'config_file': fast_lio_config_path
        }.items()
    )


    database_path = os.path.expanduser('~/WushanPilot/src/slam/rtabmap_livox.db')
    rtabmap_node = Node(
        package='rtabmap_slam',
        executable='rtabmap',
        name='rtabmap',
        output='screen',
        # 命令行参数:对应原本的 'rtabmap_args': '--delete_db_on_start'
        arguments=['--delete_db_on_start'],
        parameters=[{
            'use_sim_time': False,                # 真实环境设为 False
            'frame_id': 'base_link',              # 机器人的基础坐标系
            'odom_frame_id': 'camera_init',
            'database_path': database_path,       # 数据库存放路径

            # 严格关闭一切视觉输入
            'subscribe_depth': False,
            'subscribe_rgb': False,
            'subscribe_rgbd': False,
            'subscribe_scan': False,              # 关闭 2D 雷达输入

            # 严格开启 3D 激光雷达输入
            'subscribe_scan_cloud': True,         # 订阅 3D 点云
            'approx_sync': True,                  # 开启近似时间同步

            # RTAB-Map 后端优化与建图参数 (直接写在 parameters 字典中)
            'Reg/Strategy': '1',                  # 回环匹配策略:1=ICP(纯几何匹配)
            'Grid/CellSize': '0.05',              # 2D 占据栅格地图分辨率(米)
            'Grid/RangeMax': '20.0',              # 构建栅格地图的最大距离(米)
            'Icp/VoxelSize': '0.2',               # ICP 匹配时的体素滤波降采样大小

            # 额外安全性参数:确保处于建图(增量式内存)模式
            'Mem/IncrementalMemory': 'true',
        }],
        # 核心 Topic 重映射 (等同于原本的 odom_topic 和 scan_cloud_topic)
        # 格式为:( 'RTAB-Map默认内部话题', '你的实际话题' )
        remappings=[
            ('odom', '/Odometry'),
            ('scan_cloud', '/cloud_registered')
        ]
    )

    return LaunchDescription([
        static_tf_publisher,
        livox_driver_launch,
        fast_lio_launch,
        rtabmap_node
    ])
根据自己的具体情况修改上面的代码,然后编译功能包并launch该代码即可。
cd ~/your_workspace
colcon build --packages-select your_package
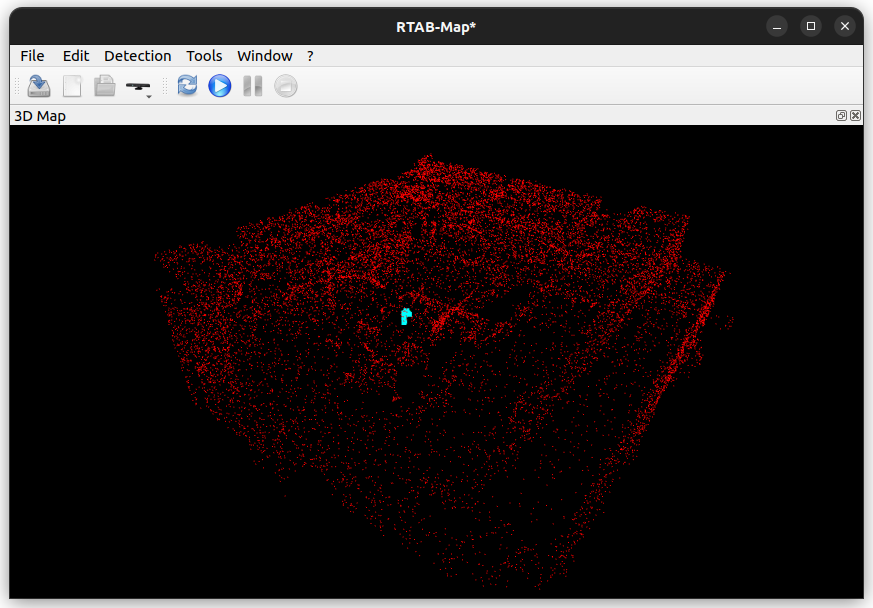
ros2 launch your_package slam_launch.py到自己电脑上回放一下db里的路径和点云。
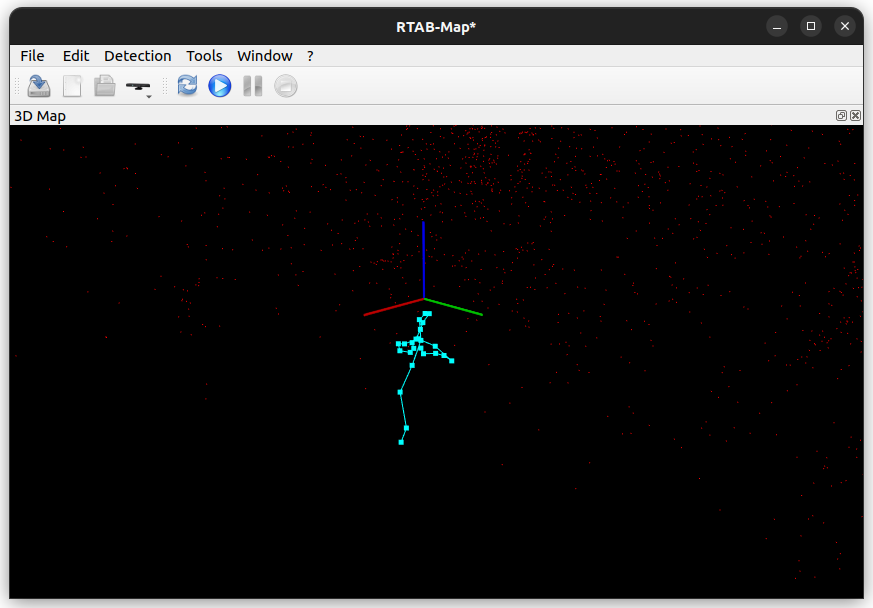
边做边写,这篇怎么意外顺利。好吧实则中途也出了很多bug。


异想天开在哪,NASA上世纪在月球和火星探测器就做了深度相机来做视觉里程计大概,kt不是薄纱NASA吗